
ITU · NETP Readiness Tabletop
NETP Captain — User Guide
Practical steps for team captains (players) during a live workshop.
Before you start
You need:
- The exercise URL from your organiser (same wifi / LAN address or the online URL).
- Your username and password (passwords are created by admin and handed out — you cannot set your own).
Usernames are derived from your team name (letters and digits only, no spaces). Login is case-insensitive — GovCoord and govcoord both work.
1. Sign in
- Open the exercise URL in a browser (laptop, tablet, or phone).
- Enter your username and password.
- Tap Log in.
If you see “This account has no password yet”, admin has not generated passwords — wait for the organiser.
On success you land as captain of your team. Until Round 1 starts you see the lobby.
2. Lobby (waiting for Round 1)
You will see: Welcome, captain of [your team] and Waiting for admin…
There is nothing to do here. Stay signed in. When a facilitator starts the exercise (Round 1), your Play table appears automatically.
If the session is later terminated, you see a closed-table message. Wait for facilitator instructions (restart or end of day).
3. Play view
After the exercise starts, use the top nav: Play · Standings · Briefing · Cards.
Header
- Round / phase steps and the live timer.
- Your username chip and Log out.
- Optional colour theme switcher · Help opens this guide.
Top stats
- Team name and mission text.
- Budget — money available this exercise.
- Your team (people) — people do not refill each round; assign carefully.
Neighbour status pills
Other teams show Deciding or Turn ended. You can see who has submitted. Captains cannot open another team’s table (staff can).
Lanes and cards
Six capability tracks (lanes). Scroll the lane strip sideways on small screens.
| Ring / look | Meaning |
|---|---|
| Coloured ring | Ready to build now |
| Filled | Built already |
| Grey / muted | Not yet open (prerequisites missing) |
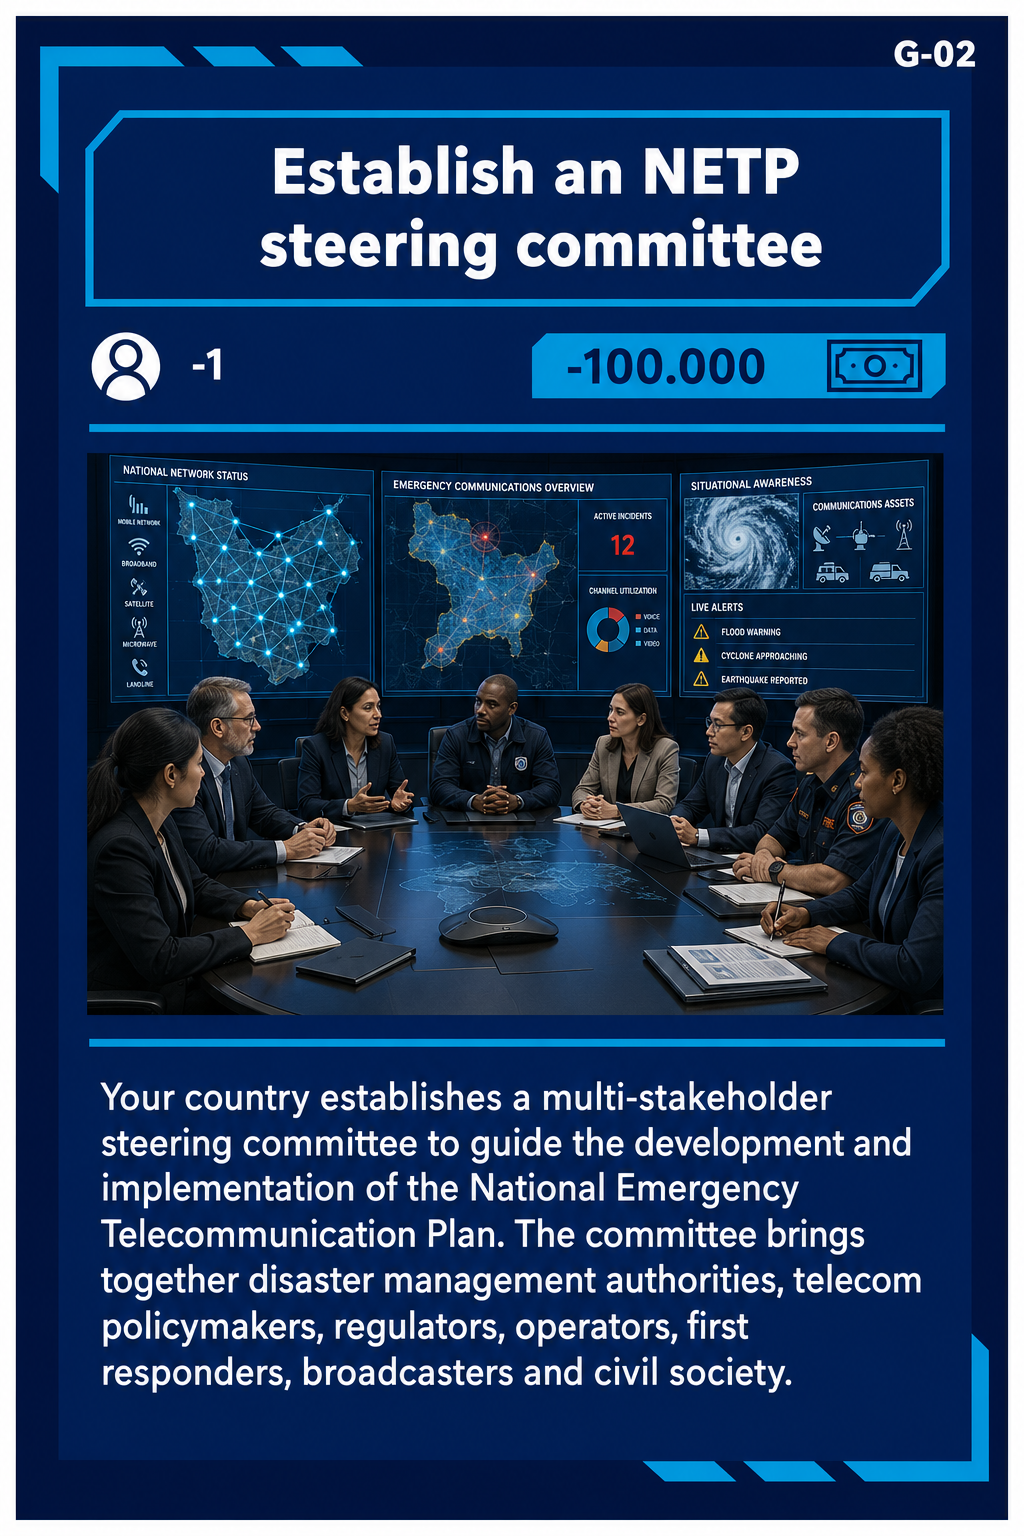
Filled style with a ✓ Built badge — your team may start with cards like this already in place.
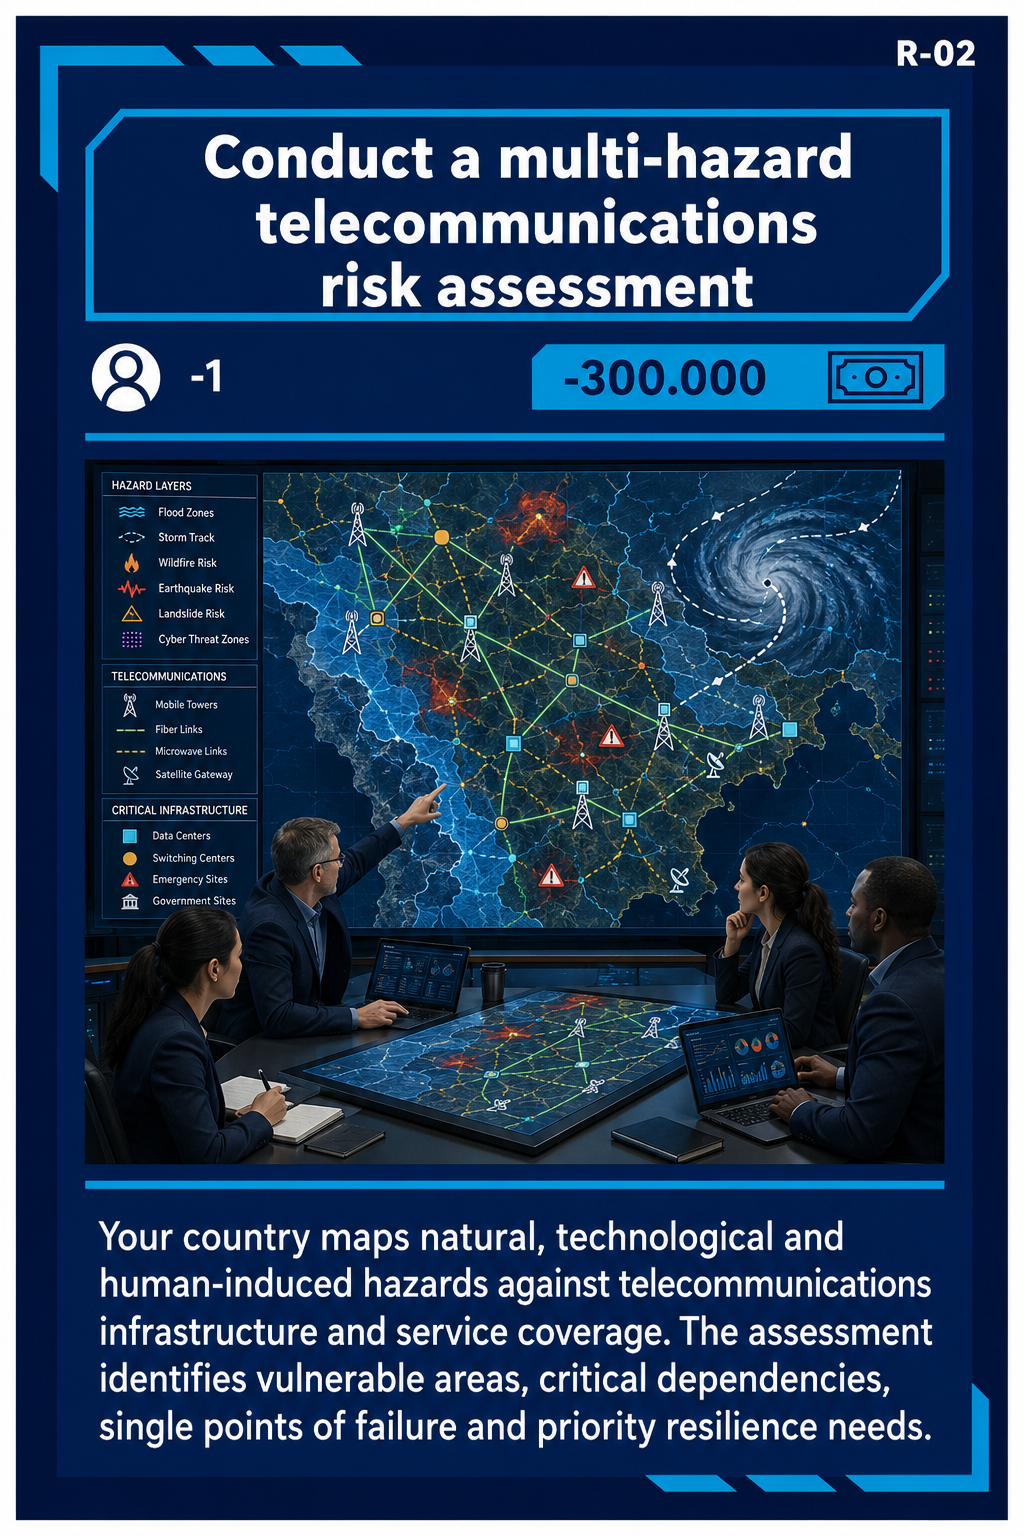
Coloured ring means prerequisites are met. Tap to stage it; budget and staff costs apply when the round resolves.
- Tap a ready card to open its detail.
- Use Add to plan (or remove if already staged).
- Staged cards appear under Your plan this turn.
- Write a short rationale (kept for the debrief).
- Tap Submit / end turn when ready.
After you submit, wait for the facilitator to advance the round. Do not refresh frantically — state syncs on its own.
Specials (Talk & trade panel)
| Action | Effect (rough) |
|---|---|
| Hire a consultant | −$100k · +1 person |
| Introduce a new tax | +$100k · −1 person |
| Global Reserve loan | +$300k · −3 people — once per game |
| Ask a neighbour for help | Request money or people — facilitator decides |
| Offer help to a neighbour | Propose giving money or people — facilitator fulfills |
Specials spend budget/people immediately when allowed; the session must be running and not paused.
Event banner
When an inject hits your team, a banner appears. Read it, then Got it. Effects are already applied to budget/people as shown.
What happened so far
Your team log lists builds, trade messages, aid, and inject outcomes for the session.
4. Standings
Standings is your personal scoreboard:
- Budget and people.
- Counts per track: Built / Ready / In plan / Locked.
- Full card list with filters — open a card, or add a ready card to this turn’s plan.
Use it to plan the next investments without hunting through all lanes.
5. Briefing
Briefing is a hub with two sub-tabs:
| Sub-tab | Contents |
|---|---|
| Map | Shared scenario image and description for all teams, with a type badge (Map, Organisation, Governance, or Other) |
| Team | Your nation’s briefing: objectives, starting context, and profile text |
The scenario image is one visual chosen by staff — not three separate uploads. The badge tells you what it shows; staff may also set an optional custom image name beside the badge (required when the type is Other):
| Type | Meaning |
|---|---|
| Map | Operating environment / geography |
| Organisation | Actors or entities chart (countries or national entities) |
| Governance | Roles / decision structure |
| Other | Something else — custom name explains what it is |
Objectives live on the Team page. Captains are read-only on both. Facilitators with Library rights (or admin) can change the image and its type; captains cannot.
6. Cards
Full catalogue of capability cards (artwork and text). Useful for browsing later tiers and understanding costs.
- Read-only for captains (no create/edit unless you somehow have staff rights — you will not in a normal workshop).
- Prerequisite / unlock details may be shown or hidden depending on staff settings — if you don’t see them, use Play lanes and Standings instead.
7. Trading (X-02 gate)
Under Talk & trade → Trade with a neighbour:
Trading unlocks only when both teams have built card X-02 (Implement Tampere Convention procedures). Until then you see a locked message.
When unlocked:
- Agree the deal at the table (face to face).
- Choose partner team, buy or sell, money or people, amounts, and price ($ thousands).
- Send the offer.
- Receiving captain Accepts or Declines in their inbox.
Facilitators can also move people via Specialist transfer on Session — that is separate from captain offers.
8. Neighbour aid (ask / offer)
Different from X-02 trading:
| From Play | What happens |
|---|---|
| Ask a neighbour for help | Prompt for money or people preference → goes to facilitator Neighbour aid inbox |
| Offer help to a neighbour | Pick a neighbour and resource → facilitator must Fulfill transfer or Dismiss |
You do not move resources yourselves for aid. Watch your log for “waiting for facilitator” and grant messages.
9. Phone / tablet tips
Play is usable on phones and tablets:
- Swipe lanes sideways — track columns snap as you scroll.
- Your plan this turn sticks near the top on narrow screens so submit stays reachable while you browse cards.
- Prefer landscape on very small phones if the header feels cramped.
- Theme label / username chip may hide on the smallest widths — Log out remains available.
- Use the same wifi as the server; avoid multiple browser tabs of the same login if you can.
10. What captains cannot do
- No Session controls — you cannot start rounds, pause, terminate, or advance.
- No activating injects or changing inject effect %.
- No Admin, password generation, or Past plays.
- No editing Scenarios / Injects / card definitions.
- No opening other nations’ Play tables.
- No uploading or changing the scenario image.
- No “Forgot password” for captain accounts — ask admin if credentials are wrong.
- You can use Messages (other captains anytime; facilitators/admin only when online) and Feedback.
If something fails with a permission toast, ask the floor facilitator or admin — it is intentional for workshop roles.
Quick round checklist
- Read any inject banner (Got it).
- Check budget / people.
- Stage cards (and optional specials).
- Write rationale.
- Submit turn.
- Optional: trade / aid if unlocked and agreed at the table.
- Optional: Messages / Feedback.
- Wait for facilitator to advance.
Match UI labels in the live app. Source: docs/USER-GUIDE-CAPTAIN.md.